Vitamix blenders are powerful machines that can carry out heavy-duty blending tasks with ease. They are highly sorted out because they come with a lengthy warranty and can deliver amazing results.
Whether you have the Vitamix E320 or an entry-level model, you should go above and beyond to keep it in great shape.
While doing this may not be the most fun activity, it will help your Vitamix machine to look nicer, process better results, and most importantly, last longer.
Taking a few seconds to clean your blender and getting rid of food particles after each use can extend the life span by a few years.
Dedicating a few hours a month to deep clean your Vitamix blender can make it last for 12 to 15 years.
This article unveils some everyday maintenance tips that can help Vitamix users keep every part of their unit in great shape. The article also discusses how to clean a cloudy jar and eliminate nut butter stains and turmeric stains.
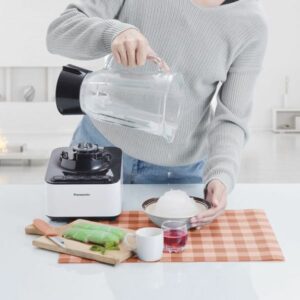
How to Clean a Vitamix Pitcher?
All Vitamix containers are made from Tritan plastic, a dishwasher safe, BPA free, and shatter-resistant material.
To ensure that your Vitamix container remains in great shape, you have to run a clean cycle after each use.
How to clean your Vitamix blender container after each use
- Use a softbrush to remove nut butter and other sticky ingredients from the wall of the blender container and rinse. Your blender container will be 70% clean after doing this.
- Half fill your Vitamix container with warm water.
- Add a few drops of dish soap.
- Run a clean cycle (High-end Vitamix units have a dedicated self-clean button). If you have a standard model that doesn’t have a self-clean preset, you should blend on a low speed for 15 seconds and on a high speed for 30 seconds.
- Rinse the Vitamix container with warm water
- Allow your blending container to air dry.
Cleaning a Yellowed Vitamix Container
Vitamix jars are durable and sturdy, but they aren’t stain-resistant. If you don’t clean it quickly after working on sticky ingredients or after making peanut butter, your jar will have an unpleasant yellow appearance after a while.
Don’t fret or buy another jar if you are in this boat, as there is an easy way to turn things around.
- Fill the jar with warm water
- Add a few drops of dish soap and baking soda (pour soapy water)
- Blend from low to high speeds.
- Rinse with warm water and allow to air dry
- Take the jar outside and leave it in direct sunlight for a few hours (the UV rays from the sun will bleach the yellow stains off the container)
The above steps can also help remove turmeric stains from your blending jar.
A simple way to prevent turmeric stains is by cleaning your jar immediately after use. Make out time to deep clean the entire container at least once every month.
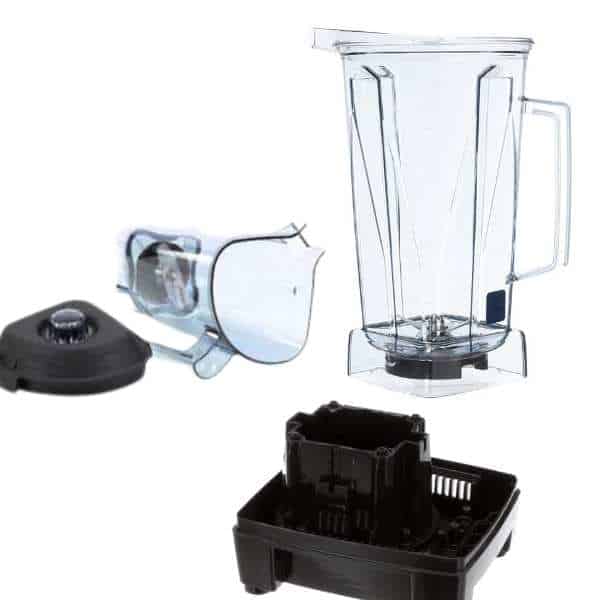
How to Clean Vitamix Blades?
Cleaning the blade assembly in your Vitamix unit is by no means an easy task. Even after running a cleaning cycle, there is no assurance that your blades will become 100% clean.
Hummus, onions, soups, and nut butter stuck under the blade will become twice as difficult for you to remove, especially if you don’t give your blending jar a quick rinse with warm water when you are done blending.
A small silicone spatula is a great tool that helps you remove most of the ingredients stuck under your blade. To get everything out, you may need to buy a Vitamix blade scraper. With it, you will be able to clean the underside of your Vitamix blender blades with ease.
If food remains are stuck on your blades, perhaps because you didn’t clean them on time, here is what you should do.
- Pour soapy water into your jar or pour warm water and add dish soap
- Run a cleaning cycle and pour the content of the jar away
- Use a soft bottle brush or a soft pot scrubber to scrub the blades (you may need some elbow grease to get everything out)
- Run another cleaning cycle (add more dish soap if need be)
- Rinse the blades with white vinegar and then with warm water
- Allow to air-dry
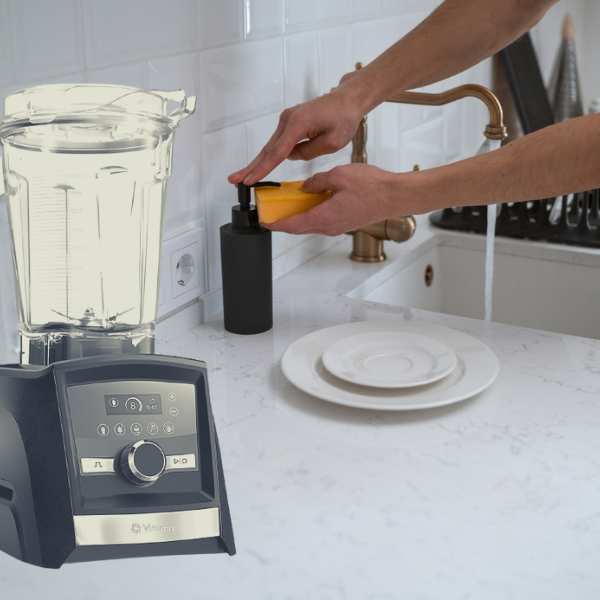
How to Clean Vitamix Base?
The base unit of your blender houses the motor and few other parts that ensure the smooth running of your unit.
If you notice smoothie spills, turmeric stains, and food remains on it, you should clean it out as quickly as possible so that they don’t become stuck there.
Here is how to clean your Vitamix base
- Shut down the power base and unplug it
- Remove the blending jar
- Use a damp cloth or paper towel to wipe any spillage
- Allow to air dry and store in a cool place.
Pro tip
- The base unit of your blender isn’t dishwasher safe and water-resistant. Never submerge it in water regardless of what spilled on it.
- Do not use liquid bleach, White vinegar, or baking soda to clean the power base of your unit.
- Do not take apart any part of the base when cleaning it.
- Use a small brush to remove dirt build-up and clean tight spaces.
Can I Use a Dishwasher to Clean Vitamix?
Whether you have the Vitamix S30 or the best Vitamix blender model on the market, you aren’t going to have a hard time cleaning it. Vitamix blenders are top-rack dishwasher safe.
Here is how to clean your Vitamix unit with a dishwasher
- Rinse the part (jar, travel cup, and blades) you want to clean.
- Put them in the top rack of your dishwasher.
- Remove and store them when the dishwasher is done.
As mentioned above, the power base isn’t water-resistant or top-rack dishwasher safe.
Why you shouldn’t clean your Vitamix blender with a dishwasher after each use
Using a dishwasher to clean your unit regularly is by no means a good idea.
You see, the heat from the dishwasher can damage the bearing, blending jar, and blades. This will reduce not just the lifespan of your machine but also its effectiveness.
Running a standard cleaning cycle or cleaning it by hand is by far a better option.
How to Clean a Cloudy Vitamix?
If it isn’t your habit to clean your blender jar shortly after use, it will definitely become cloudy after a while. Here are some ways to clean a cloudy container.
Soak in bleach
All you have to dohere is to pour warm water into your jar, add dish soap, add bleach, and let it soak. This method isn’t recommended because bleach is corrosive and may damage your jar. So, if you have been using this method to clean your unit, you should stop and try the next one.
Baking soda paste
This is a safe method that works wonders.
- Put a small amount of baking soda in a bowl.
- Use a soft towel or cloth to apply the baking soda into the jar (Be sure to cover every part of the jar)
- Pour soapy water into the jar
- Run a cleaning cycle
- Rinse with warm water and allow to air dry